Basics of p5.js
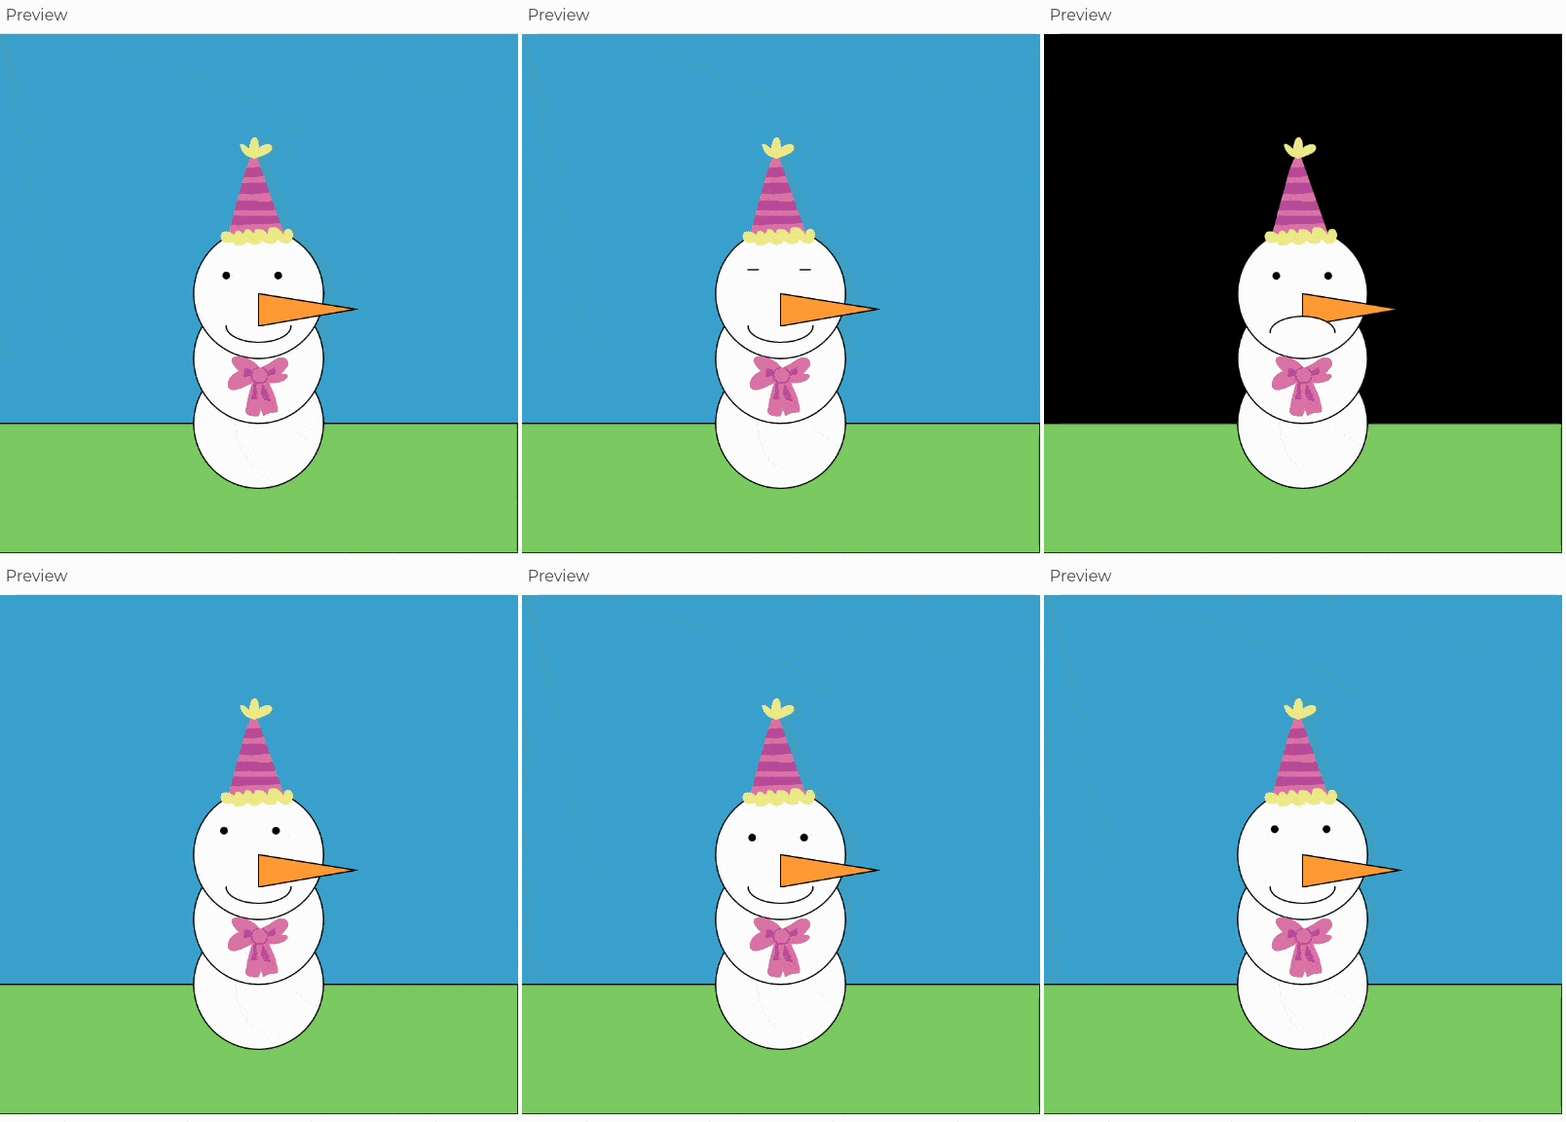
Welcome to the p5.js tutorial page! In this guide, you'll learn the basics of p5.js and make a snowman who's scared of the dark.
Environment setup
There are two ways to code with p5js:
- p5.js web editor (online text editor): record time working with Lapse
- p5.js with VSCode (local text editor): record time working with Hackatime
The p5.js tutorial page has a good guide for setting up both these environments. For beginners, I reccomend using the p5js web editor.
Basic commands
A p5.js project is a website containing 3 files:
- index.html structures the content that gets displayed in the browser.
- style.css styles and decorates the HTML page.
- Finally, sketch.js provides interactive content in your HTML page.
sketch.js is where we'll be coding our p5.js animation. By default, sketch.js contains the following code:
  function setup() {

    createCanvas(400, 400);

  }


  function draw() {

    background(220);

  }
There are two functions in sketch.js:
setup()runs its code once at the beginning of the program.draw()repeatedly runs its code 60 times a second aftersetup().
Inside these functions are two lines of code:
createCanvas(400, 400)creates a 400 pixel wide by 400 pixel tall<canvas>element in the HTML page that p5.js can display animations in.background(220)paints the canvas a grayscale value of 220 (on a scale of 0-255).
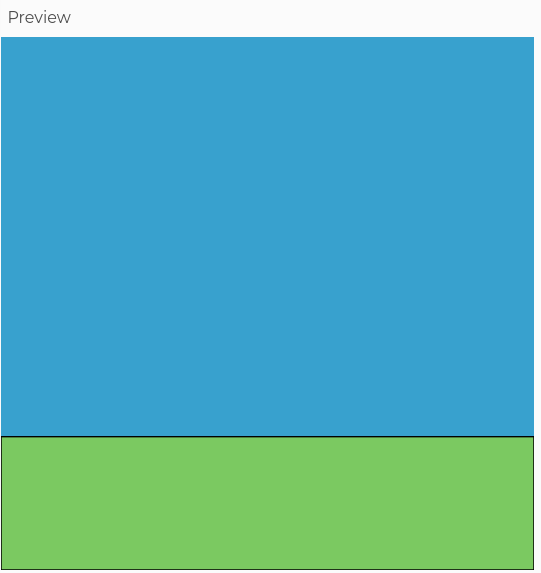
Make the background blue by changing the number in background(220) to a 3-value rgb color:
background(0,0,255); // or any blue you want
To make the grass for our snowman, choose a 3-value rgb color with fill() and use the rect() function to draw a rectangle:
(note: X-Y coordinate values start from the top left corner!)
  // grass

  fill(0, 255, 0); // or any green you want

  rect(0, 300, 400, 100);
Documentation
There isn't much you can do with only 2 lines of code, but if you don't already know p5.js, how do you code with p5.js? The solution is to read the documentation.
Documentation is text that explains how software works or how to use it. In our case, the p5.js documentation contains a list of all its functions with examples; it can be found at p5.js.org/reference.
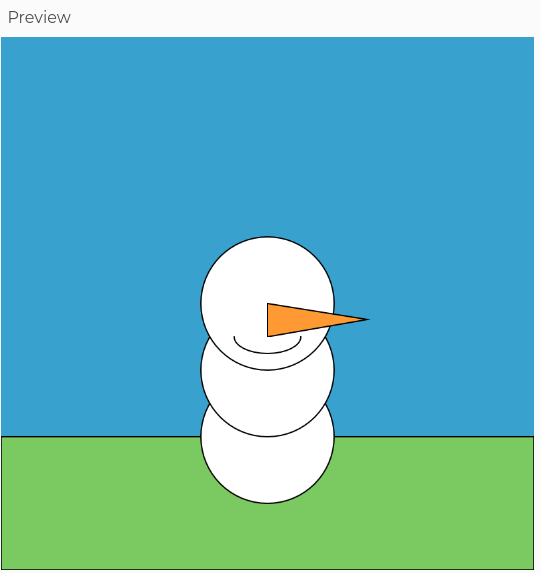
Time to make the snowman! Use the circle() function to make 3 circles stacked on top of each other.
 Solution
Code runs from the top to the bottom, so you need to create the bottom snowball before the top and middle snowballs:
    // snowman

    fill(255);

    circle(200, 300, 100); // bottom

    circle(200, 250, 100); // middle

    circle(200, 200, 100); // top
Add a carrot nose with the triangle() function and a smiley face with the arc() function.
Solution
  // nose

  fill(255, 153, 51);

  triangle(200, 200, 200, 225, 275, 212);


  // mouth

  fill(255);

  arc(200, 225, 50, 25, 0, PI);
Getting mouse input
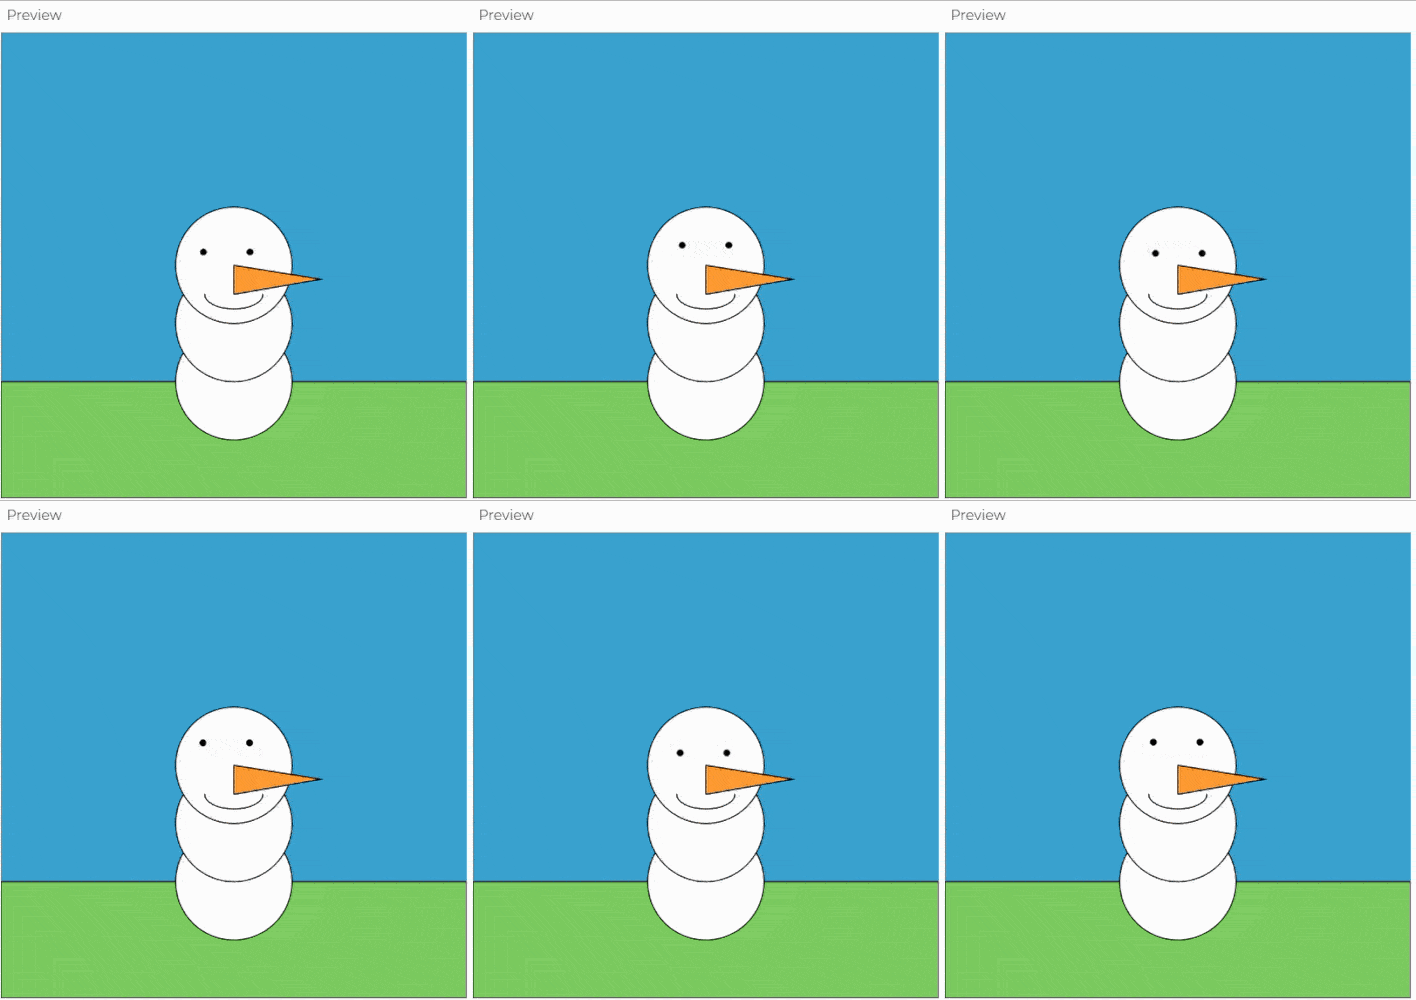
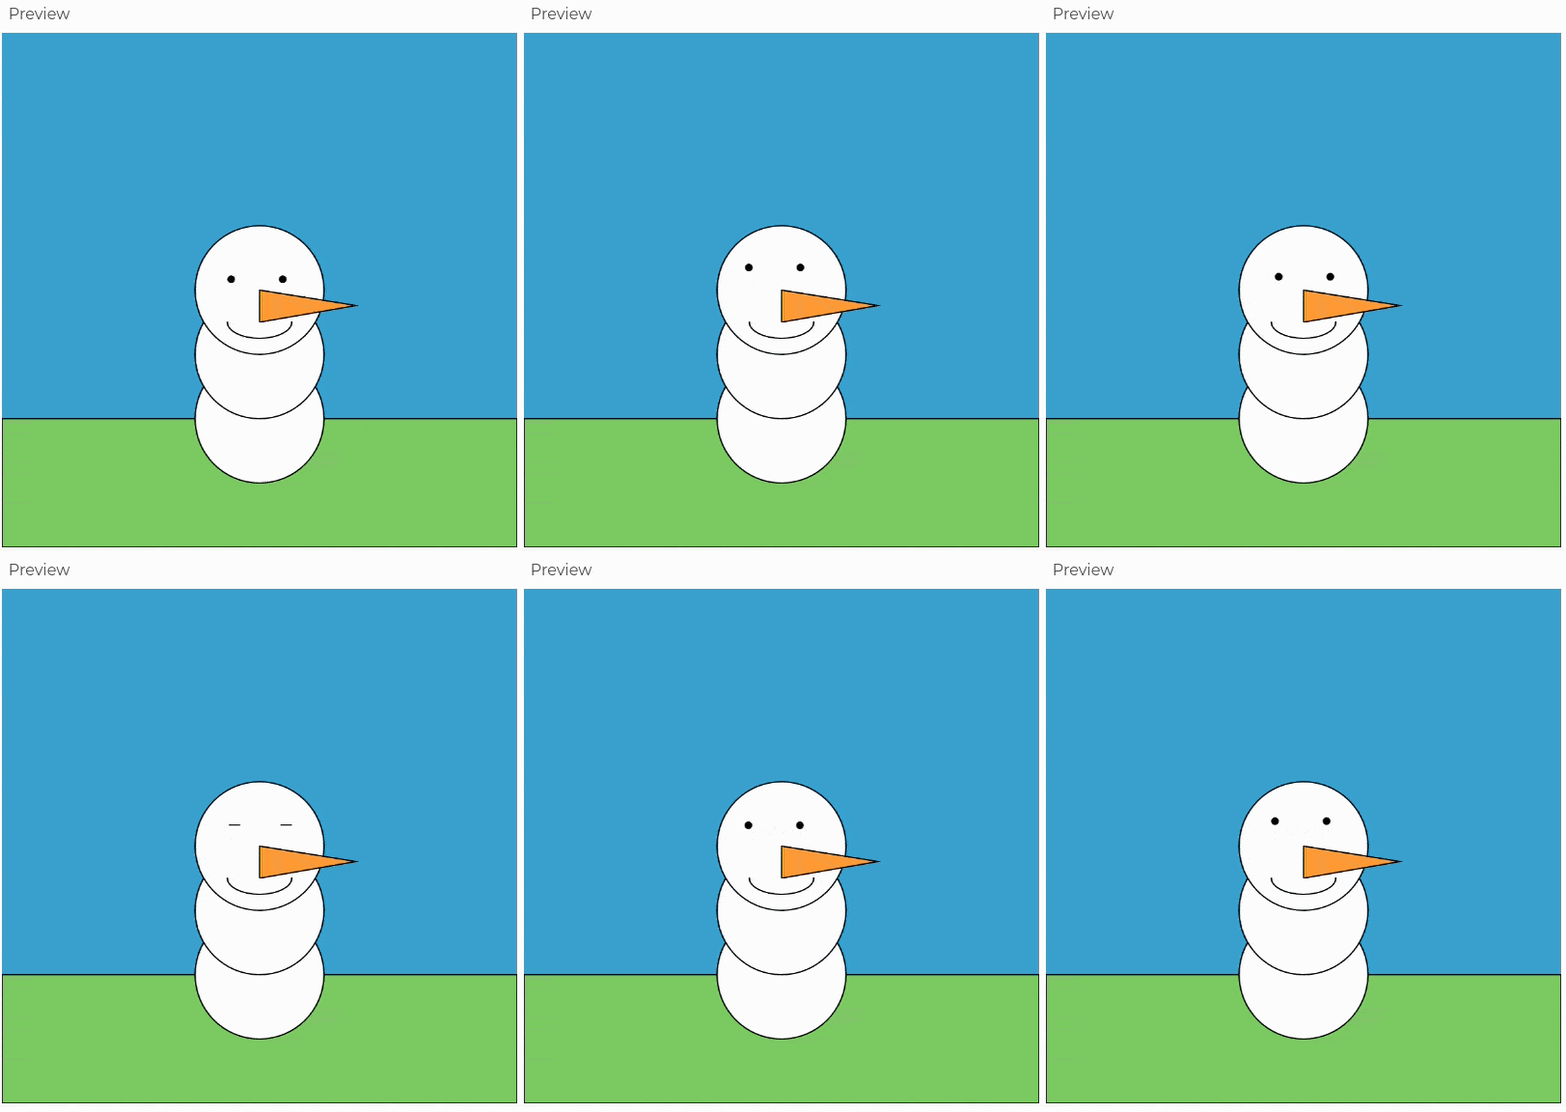
Let's code the snowman's eyes to follow our mouse pointer and blink when we click the screen! Start off with two eyes for the snowman:
  // snowman

  fill(0);

  circle(180, 180, 5);

  circle(220, 180, 5);
To get the location of our mouse, we can pass the mouseX and mouseY variables as arguments for the eye position. Dividing these variables keeps the eyes near their original position.
Solution
    // eyes

    circle(172+mouseX/40, 180+mouseY/40, 5);

    circle(212+mouseX/40, 180+mouseY/40, 5);
To check for mouse clicks, we need to use an if statement that will check the value of the mouseButton object's left property! An if statement looks like this:
  if ( x ) {

    // this code runs if x is true

  } else if ( y ) {

    // this code runs if x is false, but y is true

  } else {

    // this code runs if both x and y are false

  }
Draw the blinking eye as a straight line with the line() function.
Solution
    if (mouseButton.left) {

      line(168+mouseX/40, 180+mouseY/40, 176+mouseX/40, 180+mouseY/40);

      line(208+mouseX/40, 180+mouseY/40, 216+mouseX/40, 180+mouseY/40);

    } else { // eyes open

      circle(172+mouseX/40, 180+mouseY/40,5);

      circle(212+mouseX/40, 180+mouseY/40,5);

    }
Loading images
Pick up your pencil and draw a hat and bow for your snowman! I like to draw using Krita, but you can also download the example hat.png and bow.png files.


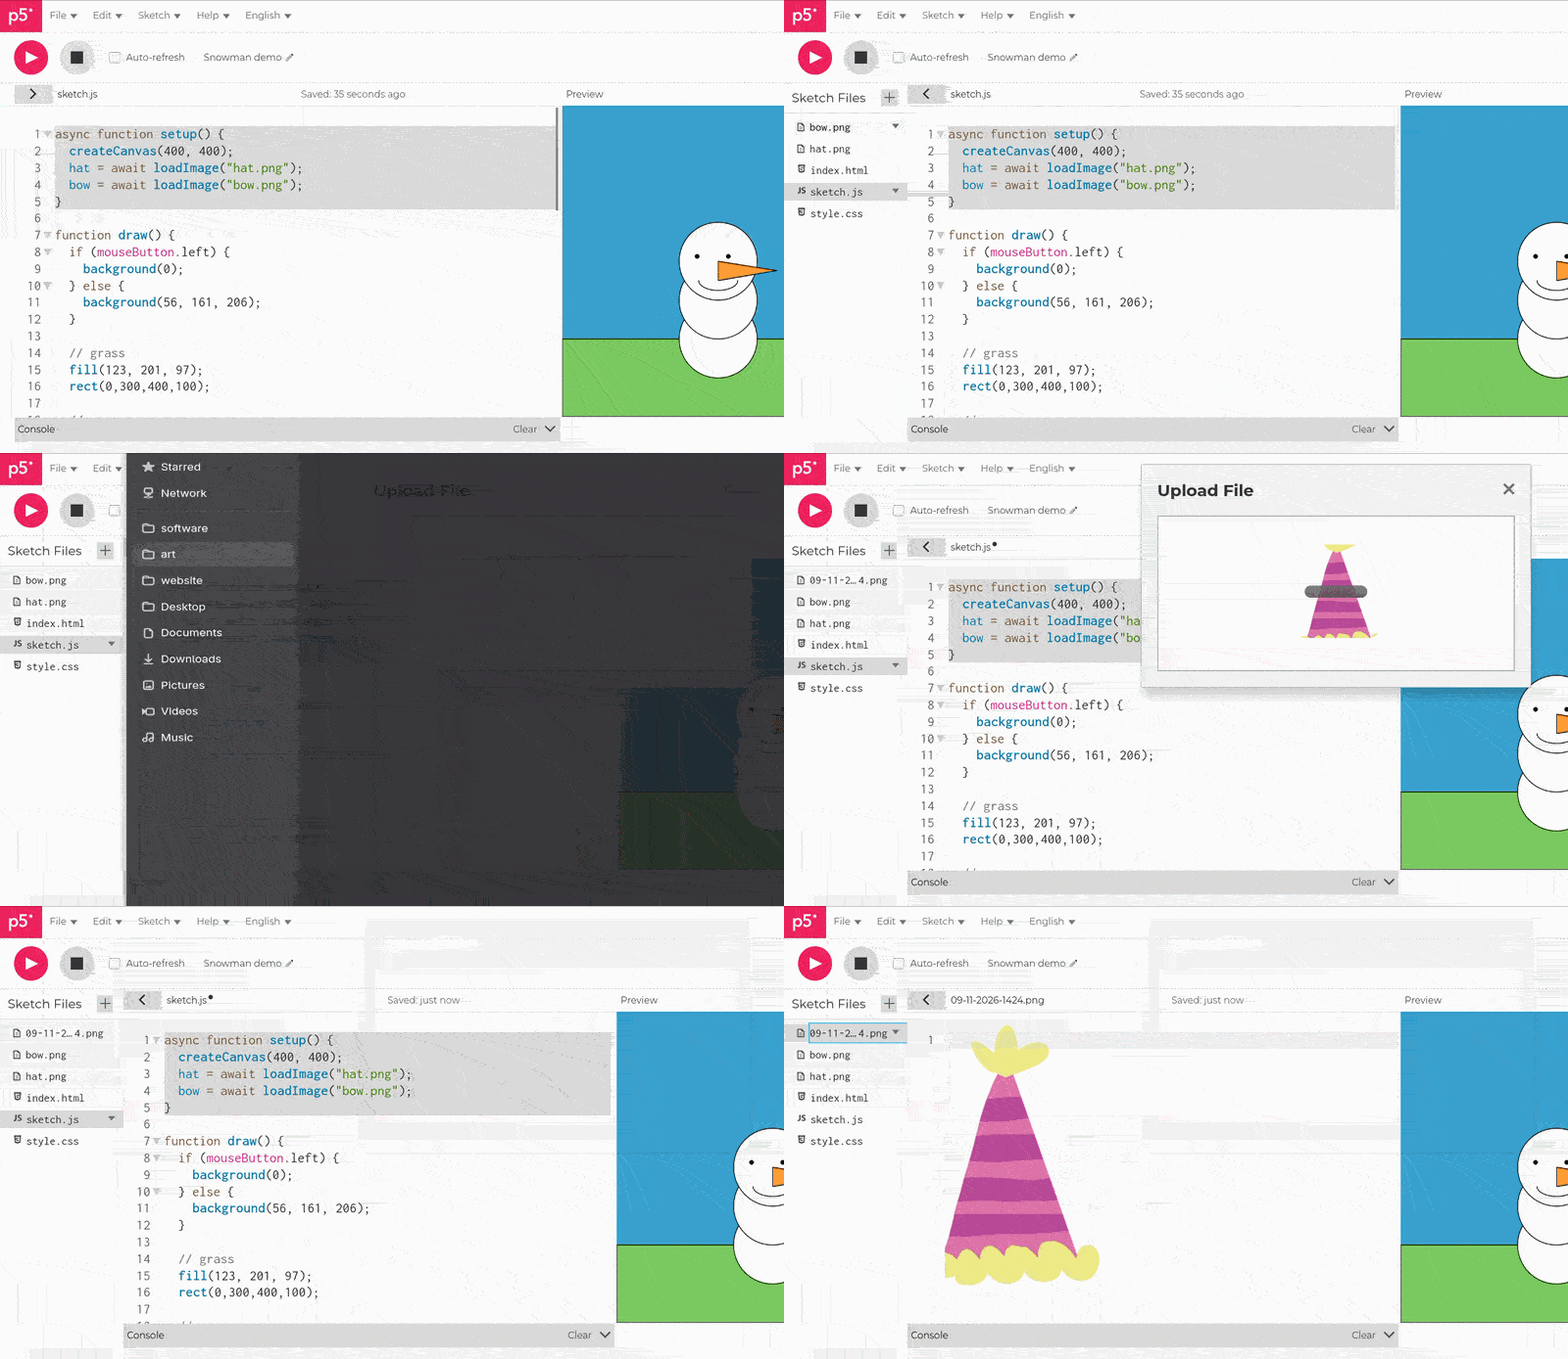
To upload your hat and bowtie pictures in the p5.js web editor, click the arrow under the play button to expand the left menu. Then click the plus button next to 'Sketch Files' and click 'Upload File'!
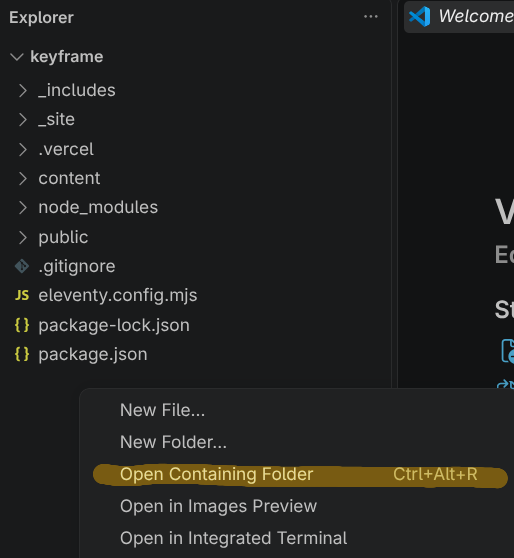
On Visual Studio Code, open the Explorer panel, then right-click on the empty space and click "Open Containing Folder". Upload your images into the folder and re-open VS Code!
Now that your images are loaded, you can create a reference to them with the loadImage() function.
  async function setup() {

    hat = await loadImage("hat.png");

    bow = await loadImage("bow.png");

  }
What's async and await?
JavaScript runs its code one line at a time, so if one line of code takes a long time to execute, then the entire website has to wait for that line of code to run. Asynchronous functions run in the background so that JavaScript can run different threads of code at once.
To make a function asynchronous, append async in the front of the function declaration. To run an asynchronous function, append await before the function call.
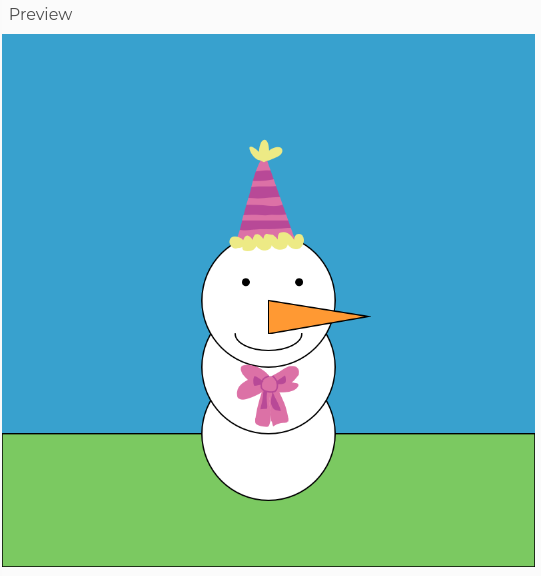
Now that your images are loaded, you can call the image() function to insert the pictures into the canvas.
Solution
    // hat and bow

    image(hat, 165, 75);

    image(bow, 175, 245);
You can divide the width and height properties to scale down the image:
image(hat, 165, 75, hat.width/4, hat.height/4);
Getting keyboard input
We'll have the space key turn the background to night and make the snowman sad. To check if a key is pressed, use the keyIsDown() function and pass a KeyboardEvent.key string (text) as the argument.
Solution
    if (keyIsDown("Space")) {

      background(0);

    } else {

      background(0, 0, 255);

    }
For the smiley face, turn that smiley face into a frown by setting its start/stop values as 0 and PI respectively.
Solution
    if (keyIsDown("Space")) {

      arc(200,230,50,25,PI,0);

    } else {

      arc(200,225,50,25,0,PI);

    }
You've finished the tutorial! Congrats on making it this far! Now it's time to make your own animation.
If you need inspiration, you can check out OpenProcessing for lots of great examples!
Good luck and have fun!